
Let me start this post by saying I definitely, most certainly, do not identify myself as “a sewer”. I know the basics, I can muddle my way through some simple instructions or pattern but I’m working off my mom’s 30 year old Kenmore and I mess up, a lot!
With that said, one of my New Year’s resolutions this year is to get better at sewing and the only way to do that is practicing. So bear with me as I share with you my first sewing project of the new year- some very easy produce bags.
The official tutorial can be found here. Just to be clear- This tutorial is from Spoonflower. I’m including it here with a few notes I made throughout the process.
Materials:
- 1 fat quarter of gauze per bag OR for a complete set of bags, you can cut one yard into four rectangles approximately 28” x 18” each. (I went with the 1 yard of fabric and bought the Organic Sweet Pea Gauze from Spoonflower. Here’s my orange pattern. I also ordered this blackberry fabric and this pineapple fabric. All are insanely cute. Since this was going to be touching my food, I liked the idea of using organic cotton but feel free to use what you can find or what you have. I acknowledge Spoonflower is not the cheapest material; I had a discount.)
- 1 yd of twill tape, ribbon, or other coordinating tie material per bag – choose a material that measures 1″ wide or less. (I chose rope and ordered it here. )
- Sewing machine and/or serger (My instructions are going to be serger-less because I don’t have one)
- Ruler, scissors, thread, fabric marker, & pins
- Large safety pin
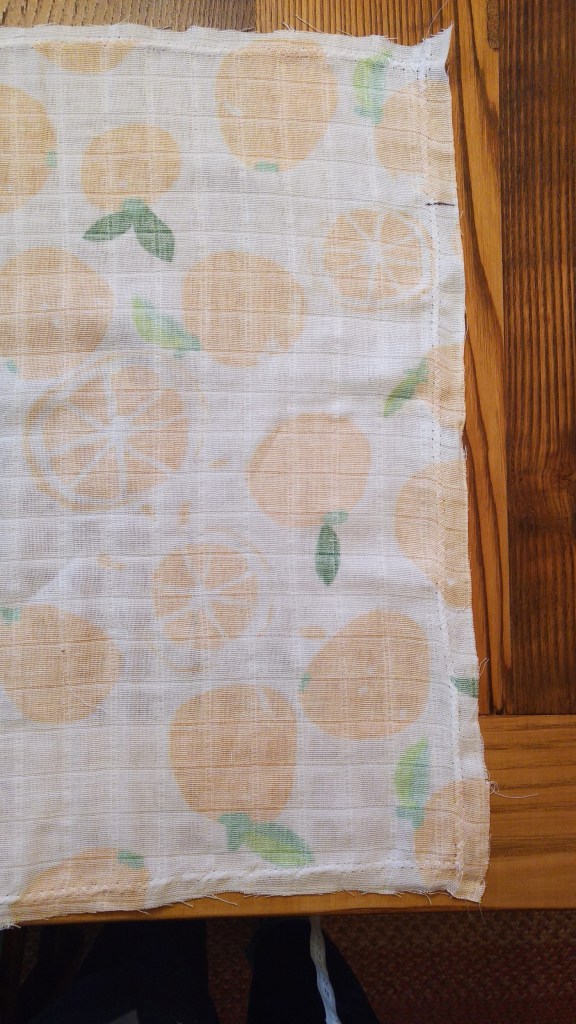
- Cut your yard of fabric into 4 rectangles. Zigzag stitch the edges.

2. Place your rectangle in front of you so that the wrong side is facing up, and the longest edges are facing you. Measure and make a mark 3″ from the top edge on both of your short sides.
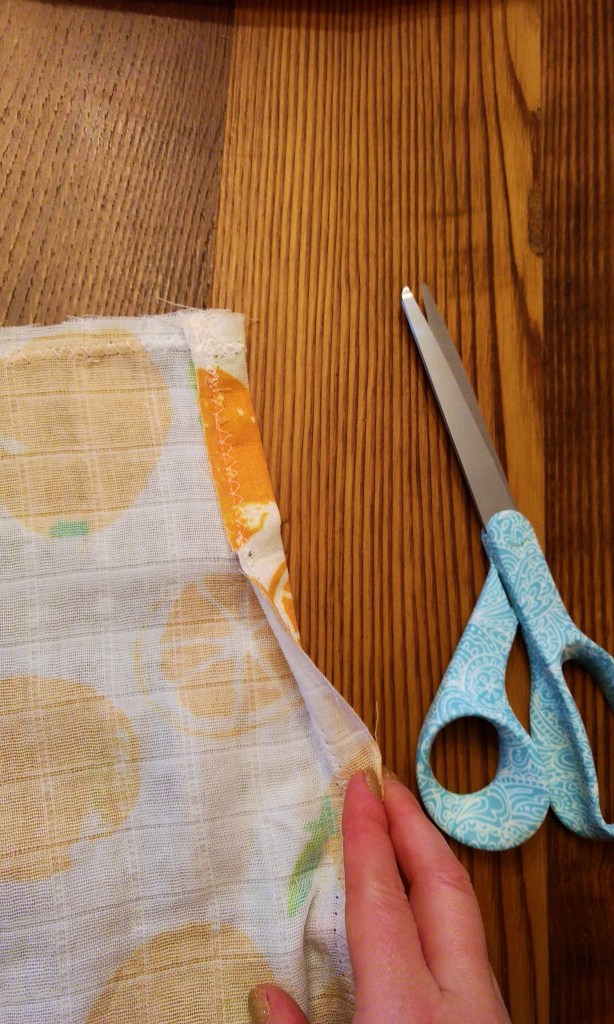
3. Next, you’re going to hem the 3″ area you just marked on your short edges so you don’t have any exposed threads once your bag is finished. Fold ¼” of the 3″ marked side edge inward. Pin and sew in place. Repeat for the left edge.
4. Next, you’ll hem the top edge of your fat quarter. Fold ¼” inward, pin and sew in place.
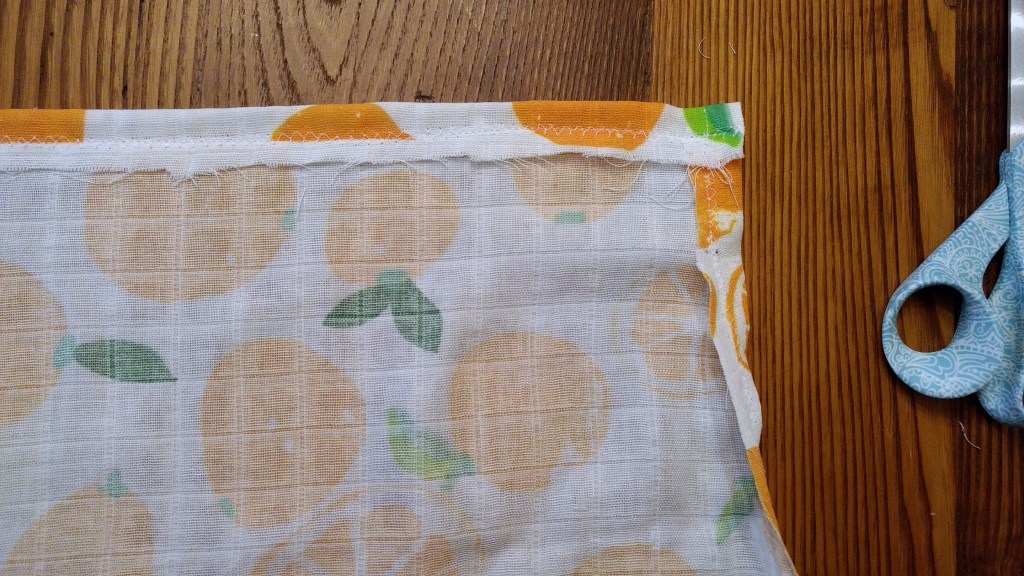
5. Next, fold the top hemmed edge down so it’s in line with your 3″ marks. Pin and sew in place to create a 1½” casing for your drawstring.
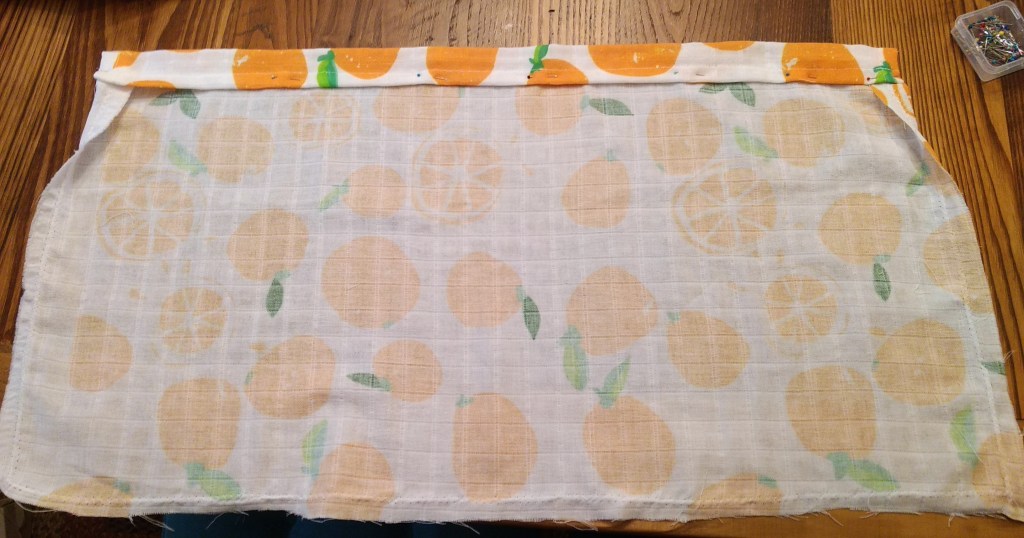
6. Fold your fat quarter in half widthwise, right sides facing. Pin in place, being careful to line up the edges of the casing. I lined my casing up first and then worked down from there. Sew the bottom and side edges together with a ¼” seam, stopping at the edge of your casing.
Note: The below picture shows my bag pinned together for Step 6. I did two bags with the bottoms and the entire short sides hemmed. I felt that was easier then just hemming the 3″ area around the casing. This resulted in a cleaner area around the casing but did result in a bit more bulk around the bottom and side edging once the entire bag was sewn. I didn’t mind this, especially since the material will crinkle and hide the bulk when washed. Just an FYI in case your process looks different.

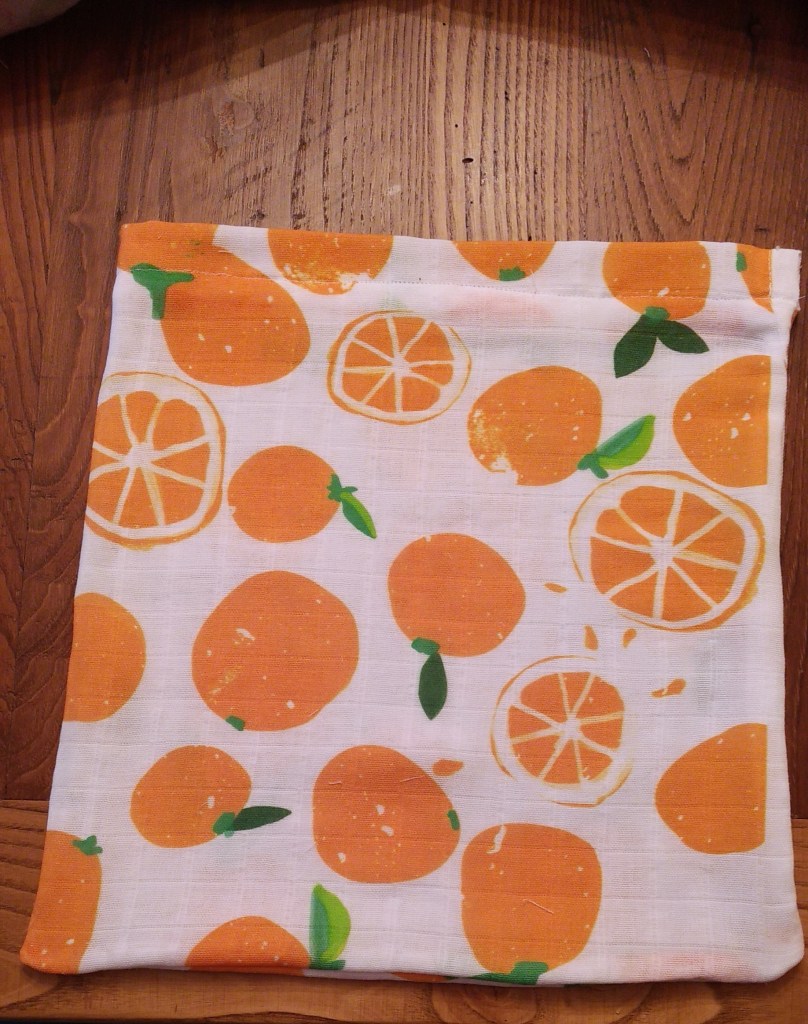
7. Once the bottom and side edges are sewn together, turn rightside out and you have a bag! All that’s missing is the draw string…
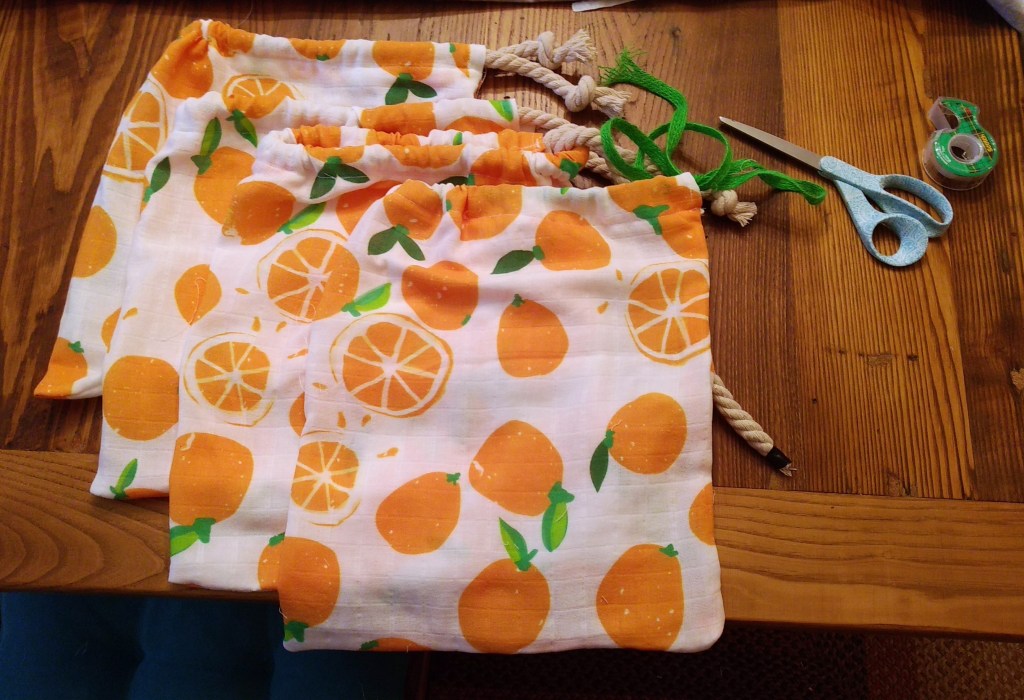
8. For the drawstring, attach a safety pin to one of your drawstring material and feed it through your casing. If you are using the rope that I ordered, wrap tape around one end of your rope and put your safety pin through that. It will keep your rope from fraying before you can knot it at the end.

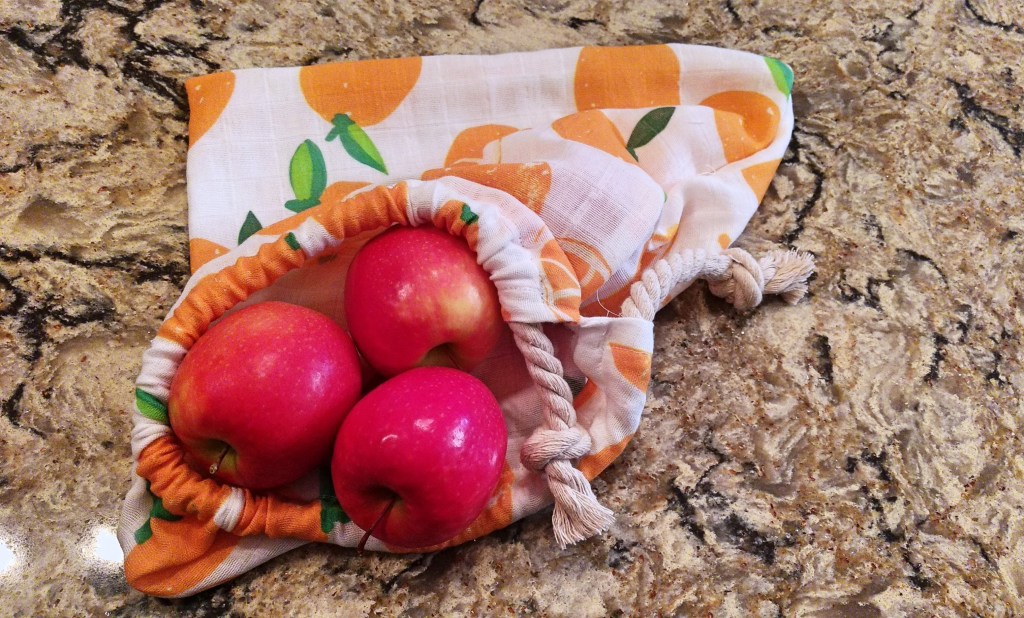
How cute is that bag?! I just love it.
You are going to want to make sure you add a tag or note somewhere about the weight (aka Tare) of the bag, especially if you use the rope, which is heavier. Many grocery stores can do this for you. Some, like Whole Foods, have digital scales in their bulk section and you can weigh as many bags as you want in peace. Or, even better, you can get the weight from a kitchen scale! You can write it in the corner if you don’t want to worry about removing a tag when you wash it, you could make it into a label like you find on clothes or you can add a removable paper tag if that’s the easiest.
For cleaning, I have NOT cleaned mine yet but I will remove the rope and Tare tag and probably soak them or wash them on delicate and then let them air dry. They do crinkle when they are washed making them more textured. Here’s more information on the material from Spoonflower. I first saw this on their blog post, “16 Eco-Friendly Projects for a Zero-Waste Home”. I can’t wait to try and make bowl covers!
Also, as only a pseudo-sewer, this did only take me 1 hour or under for each bag. So, it’s a nice weekend project! Be sure to share pictures if you end up making them. I’d love to see what fabrics you use!
If you are looking for a cheaper produce bag and/or a no-sew option, check in here next Thursday and I will be making produce bags out of recycled tshirts. Those are fantastic for after you clean out your closet. For help with your closets, check in with me tomorrow. I have a project that will help you get a handle on your closet, find new ways to style clothes and reduce the need to shop!
